How to use the Room Visualiser
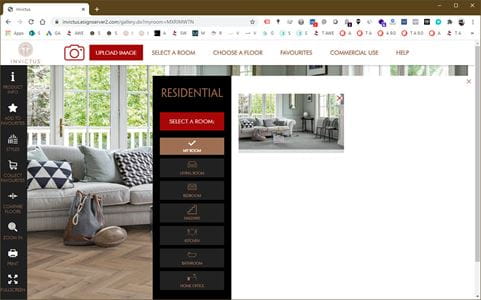
1/ Select a room from the menu
You can either upload an image, take picture of your room with your smartphone or choose between pre-set images of living rooms, bedrooms, hallways, kitchens, bathrooms, home offices and commercial spaces.
You can easily switch between room types. Your current floor selection will be presented in the new room setting.

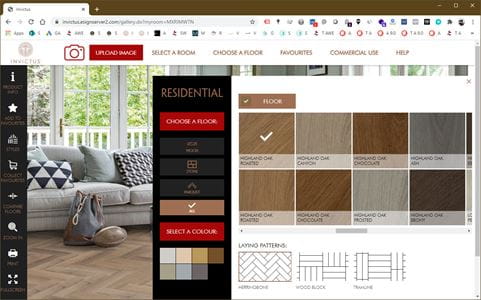
2/ Choose a floor
Either by clicking on the item in the menu bar at the bottom, or on the red button on the floor
You can choose between wood, stone and parquet flooring, or select a colour tone and browse through the options.
When choosing stone tiles, and depending on the laying pattern, a feature strip will be presented as an optional product. For more colour options, click on the ‘feature strip’ tab.
You can also select a laying pattern and change the laying angle of the floor.

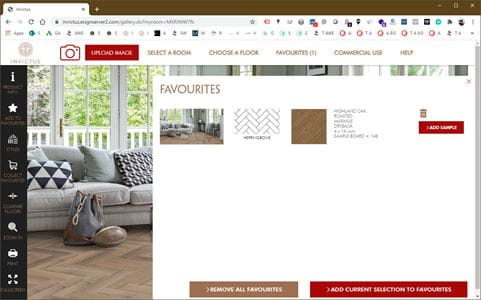
3/ Add to favourites – take your favourites to your retailer
To add a floor you like to your favourites, click on the ‘Add to favourites’ icon in the toolbar on the left.
In your favourites basket, you can: create a unique Room ID using ‘Collect Favourites’ in the toolbar on the left. Take the Room ID with you to your preferred retailer. Your retailer will be glad to present the flooring designs that you’ve selected.

4/ You can zoom in
for more detail or compare two floors by using the icons in the toolbar on the left
5/ You can review the product information
or print the product details by clicking on the icons in the toolbar on the left


